We asked our interior design project manager, Savannah, to share how she styled her home’s holiday garland. If you are in need of some easy, DIY seasonal decor inspiration, read on to find out how she accomplished this cozy, festive design.
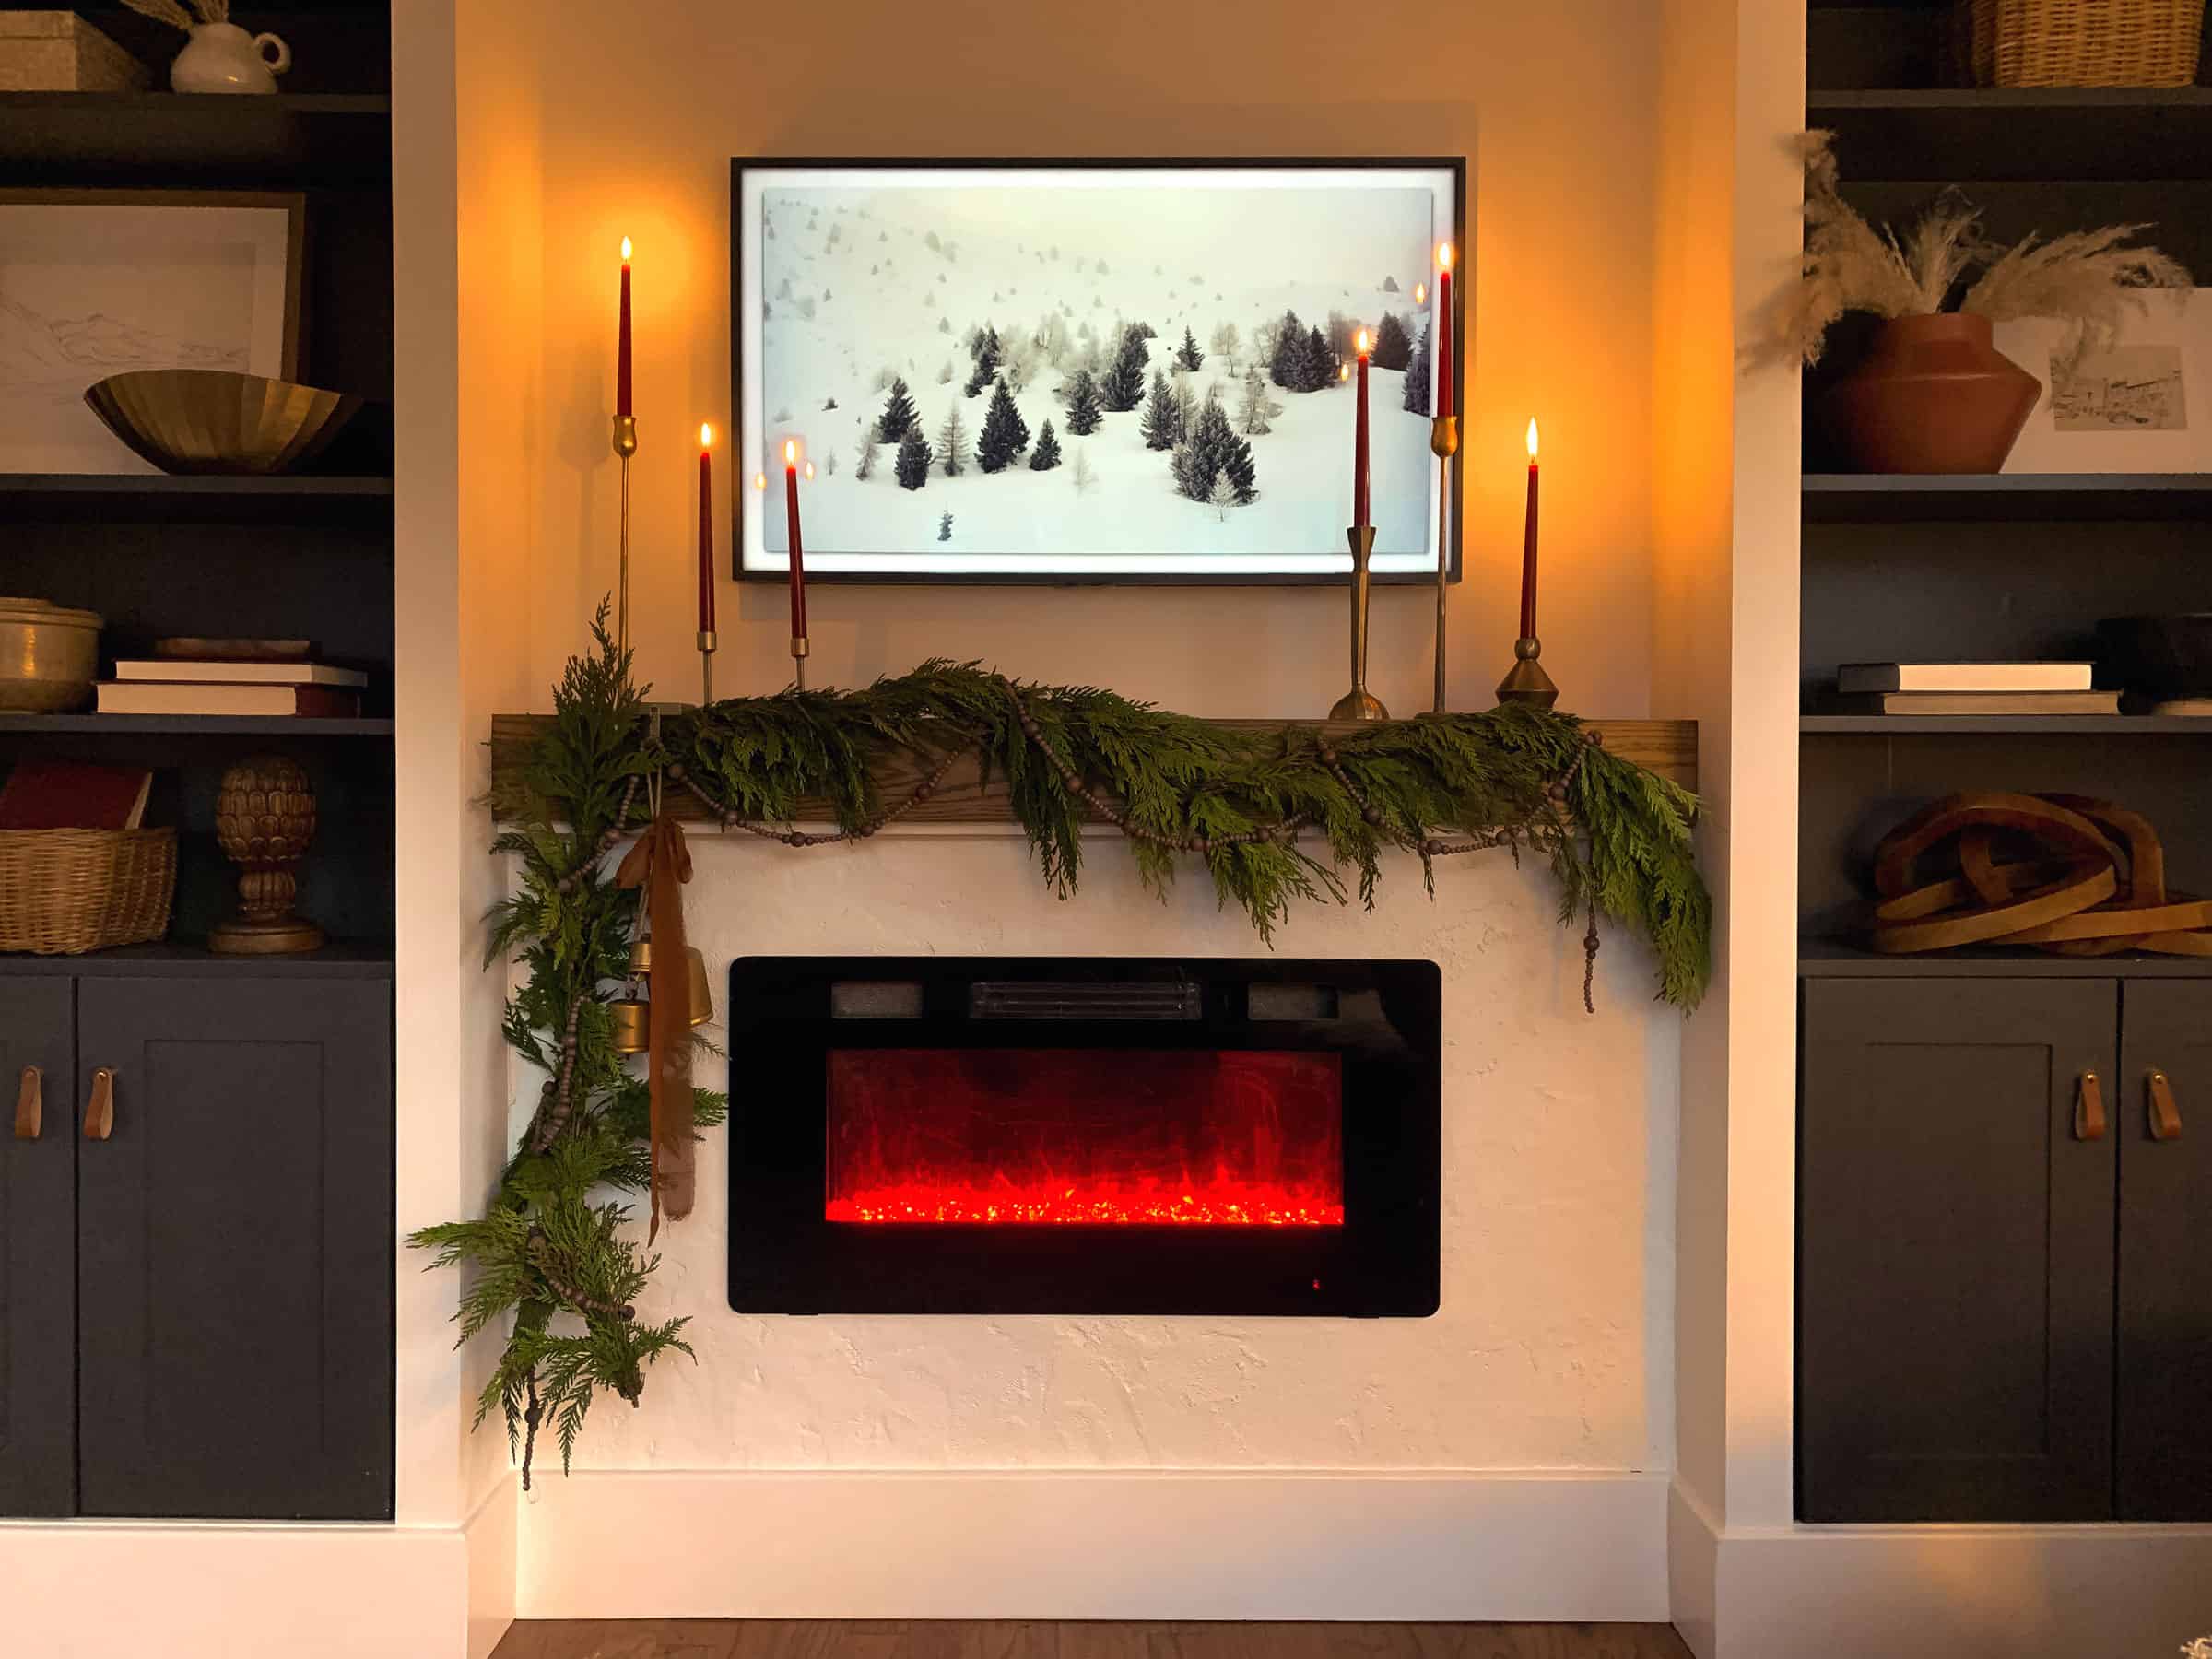
Step 1: Choose your holiday garland foliage
Savannah chose cedar foliage for her holiday garland. The benefits to a cedar garland is that it gives your holiday decorations a delicate and simplistic look. They also lie flat, therefore making it easier to style. Cedar garlands are particularly great for hanging, draped over the edge of your fireplace mantel. It can also be less messy as it doesn’t have thousands of tiny needles ready to fall out. However, if you can’t source cedar, there are other popular foliage options you can choose as well such as:
-Eucalyptus: Eucalyptus is known for making your home smell like a spa with its very refreshing scent. It also looks beautiful when paired with other holiday foliage by adding additional texture with its leaves. Furthermore, it’s also very easy to dry or preserve it, so you can reuse it over the years.
-Fir: Noble fir is often used as Christmas trees, so this gives you the more traditional holiday garland look. Layer the branches, to give your garland a thicker, bushier look. This foliage is best used to lay on top of a wider fireplace mantel. You can also add pinecones to it for a more natural touch.
-Holly: Holly is another iconic seasonal foliage classic that you can add to garnish your mantel. It gives a beautiful pop of red with its berries. Another great option to use paired with fir.
-Faux Foliage: faux foliage is great option if someone in your household has allergies, or you don’t want to deal with the potential mess of real foliage. Bonus, you can reuse it every year!
Step 2: Choose your holiday garland accessories
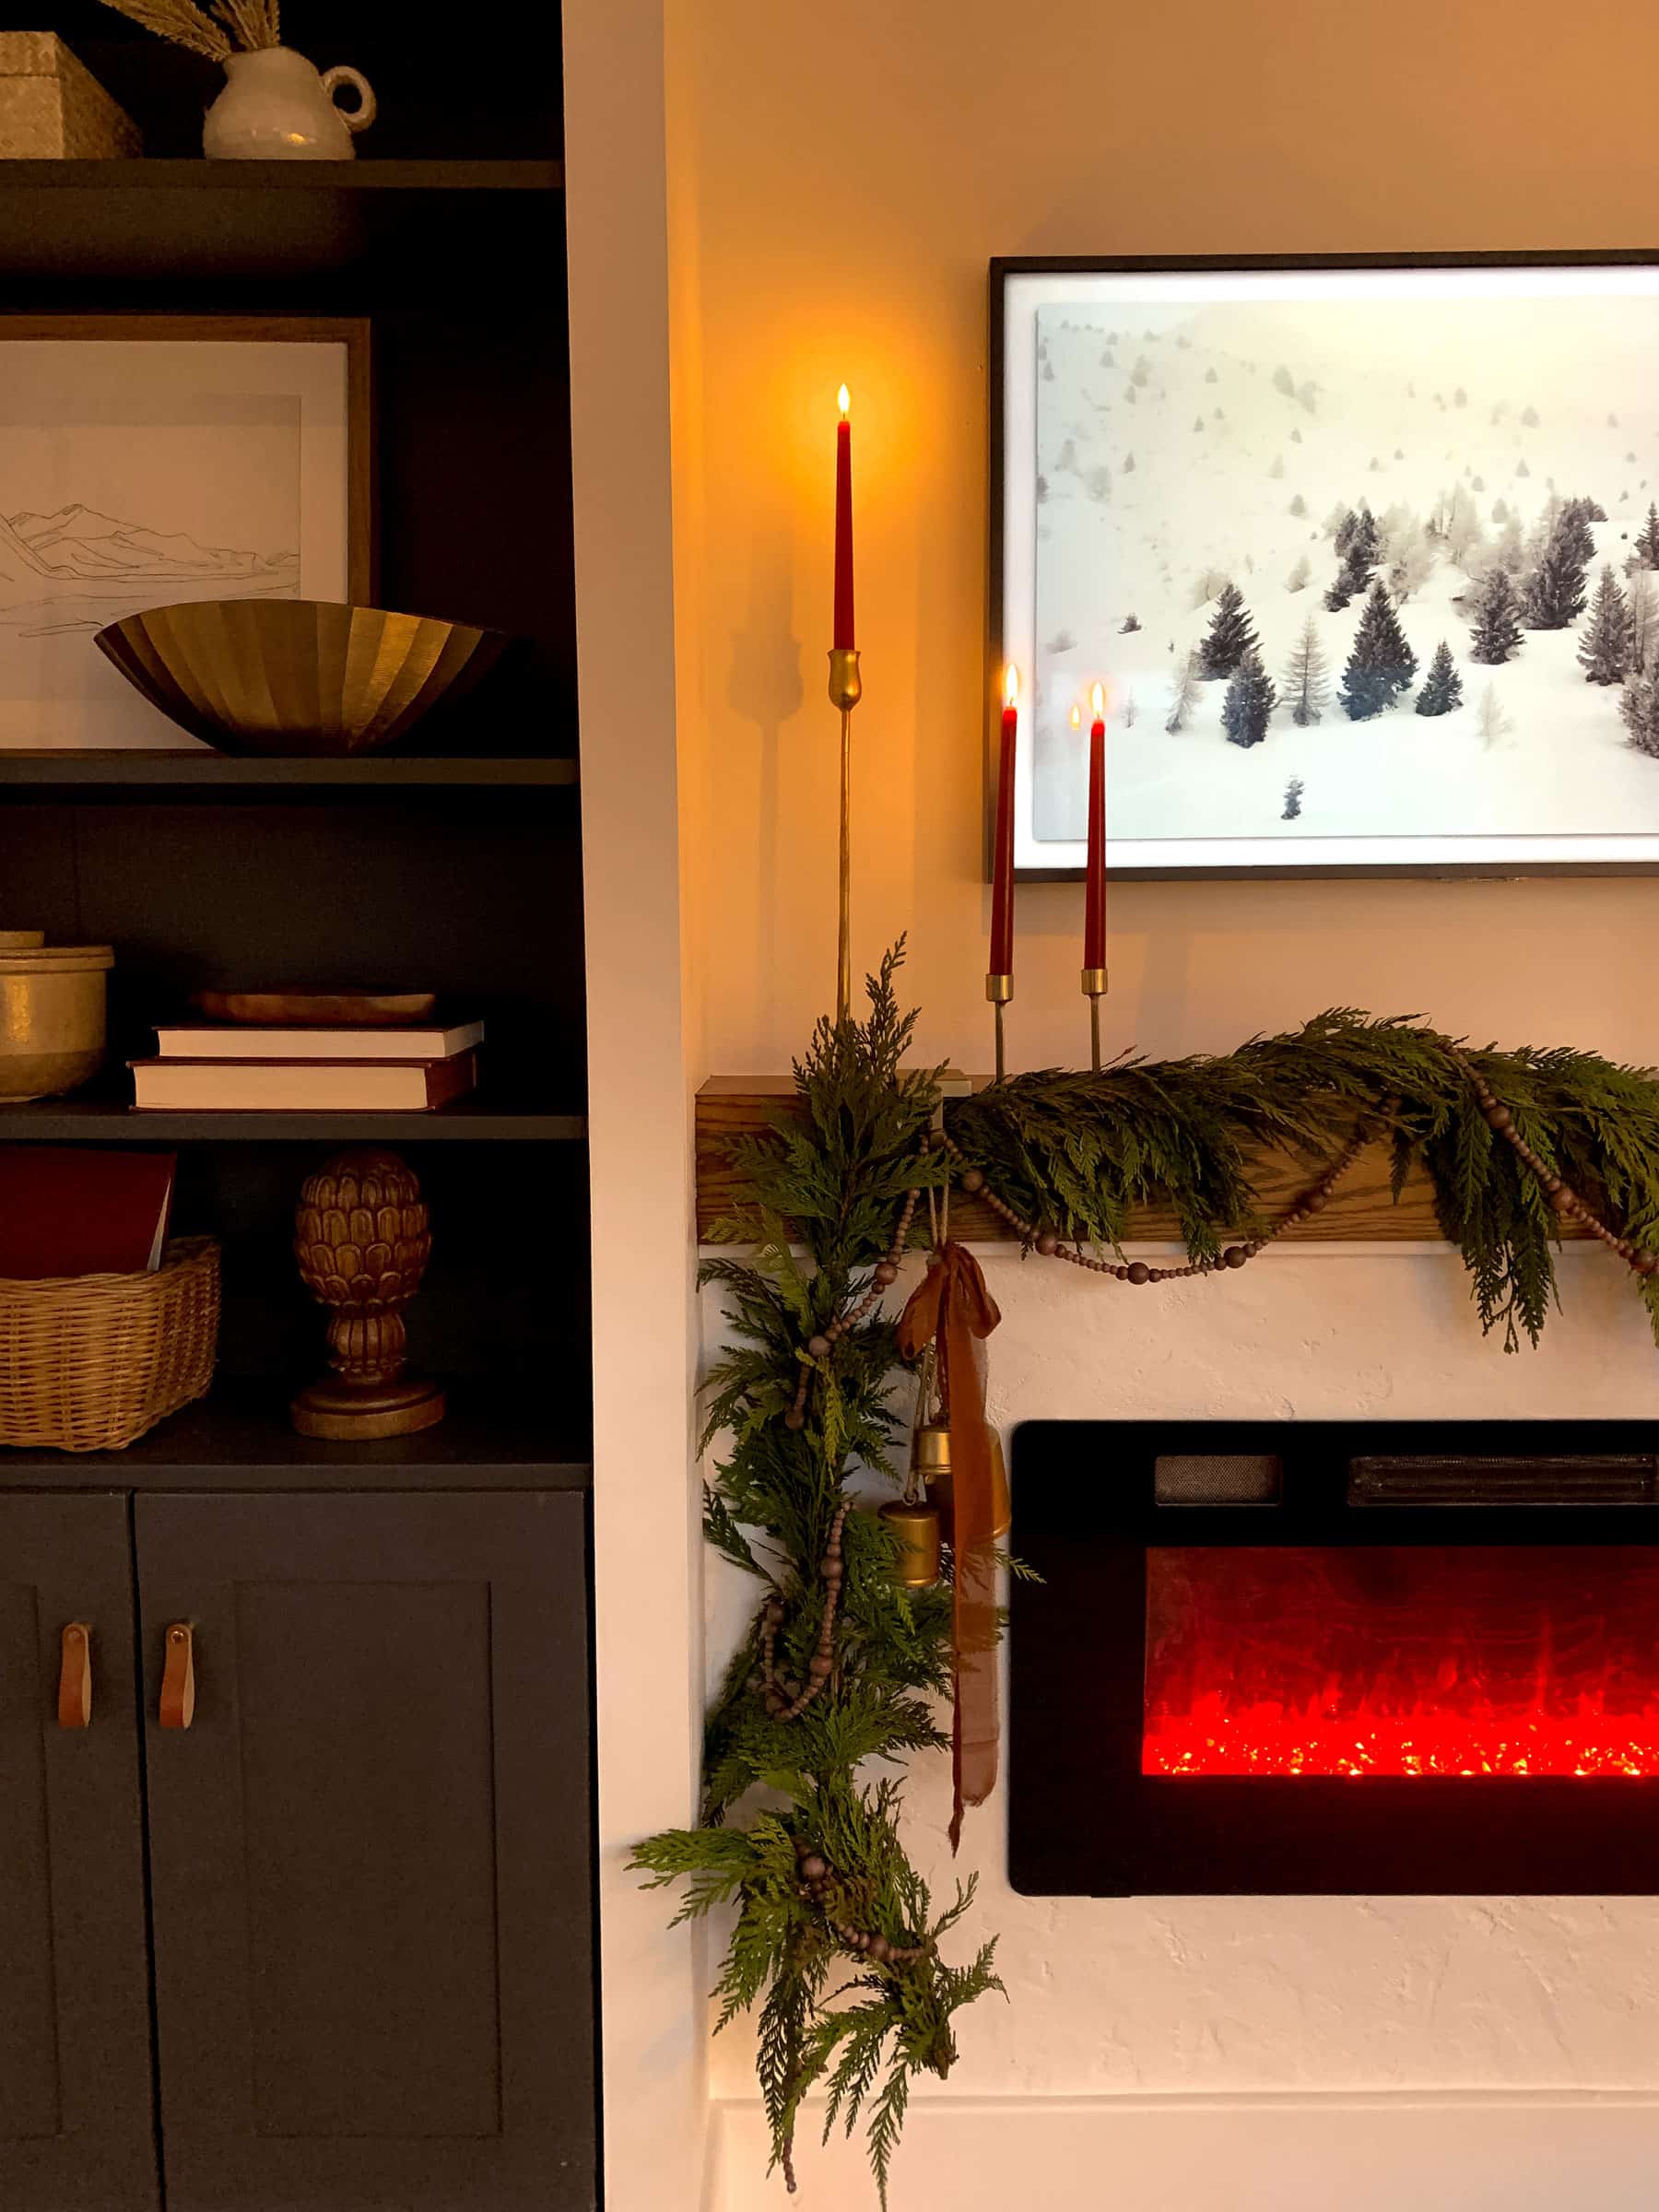
Savannah chose to go with a natural, simplistic style for her holiday garland and her accessory choices reflect that. She chose a wooden, beaded decorative garland to add interest and texture. By choosing a wooden garland, she kept the seasonal cedar foliage the main focus. She also added a pair of gold bells, tied with a cognac-colored ribbon, to give a sophisticated, seasonal touch. Finally, she chose an assortment of different candlesticks of varying heights to add gold accents for a luxe look.
Step 3: Trim your foliage and hang on your fireplace mantel
Savannah used small command hooks to help her loosely drape the cedar foliage across her mantelpiece. Next, she trimmed the branch where needed, after deciding on the final placement of the greenery. After she was finished draping the foliage, she added a gold stocking holder to hang the bells. She then placed her beaded garland along the cedar garland, wrapping it around down the sides. If you have trouble keeping it all together, you can use green florists wire if you need help it stay in place.
Step 4: Add candles
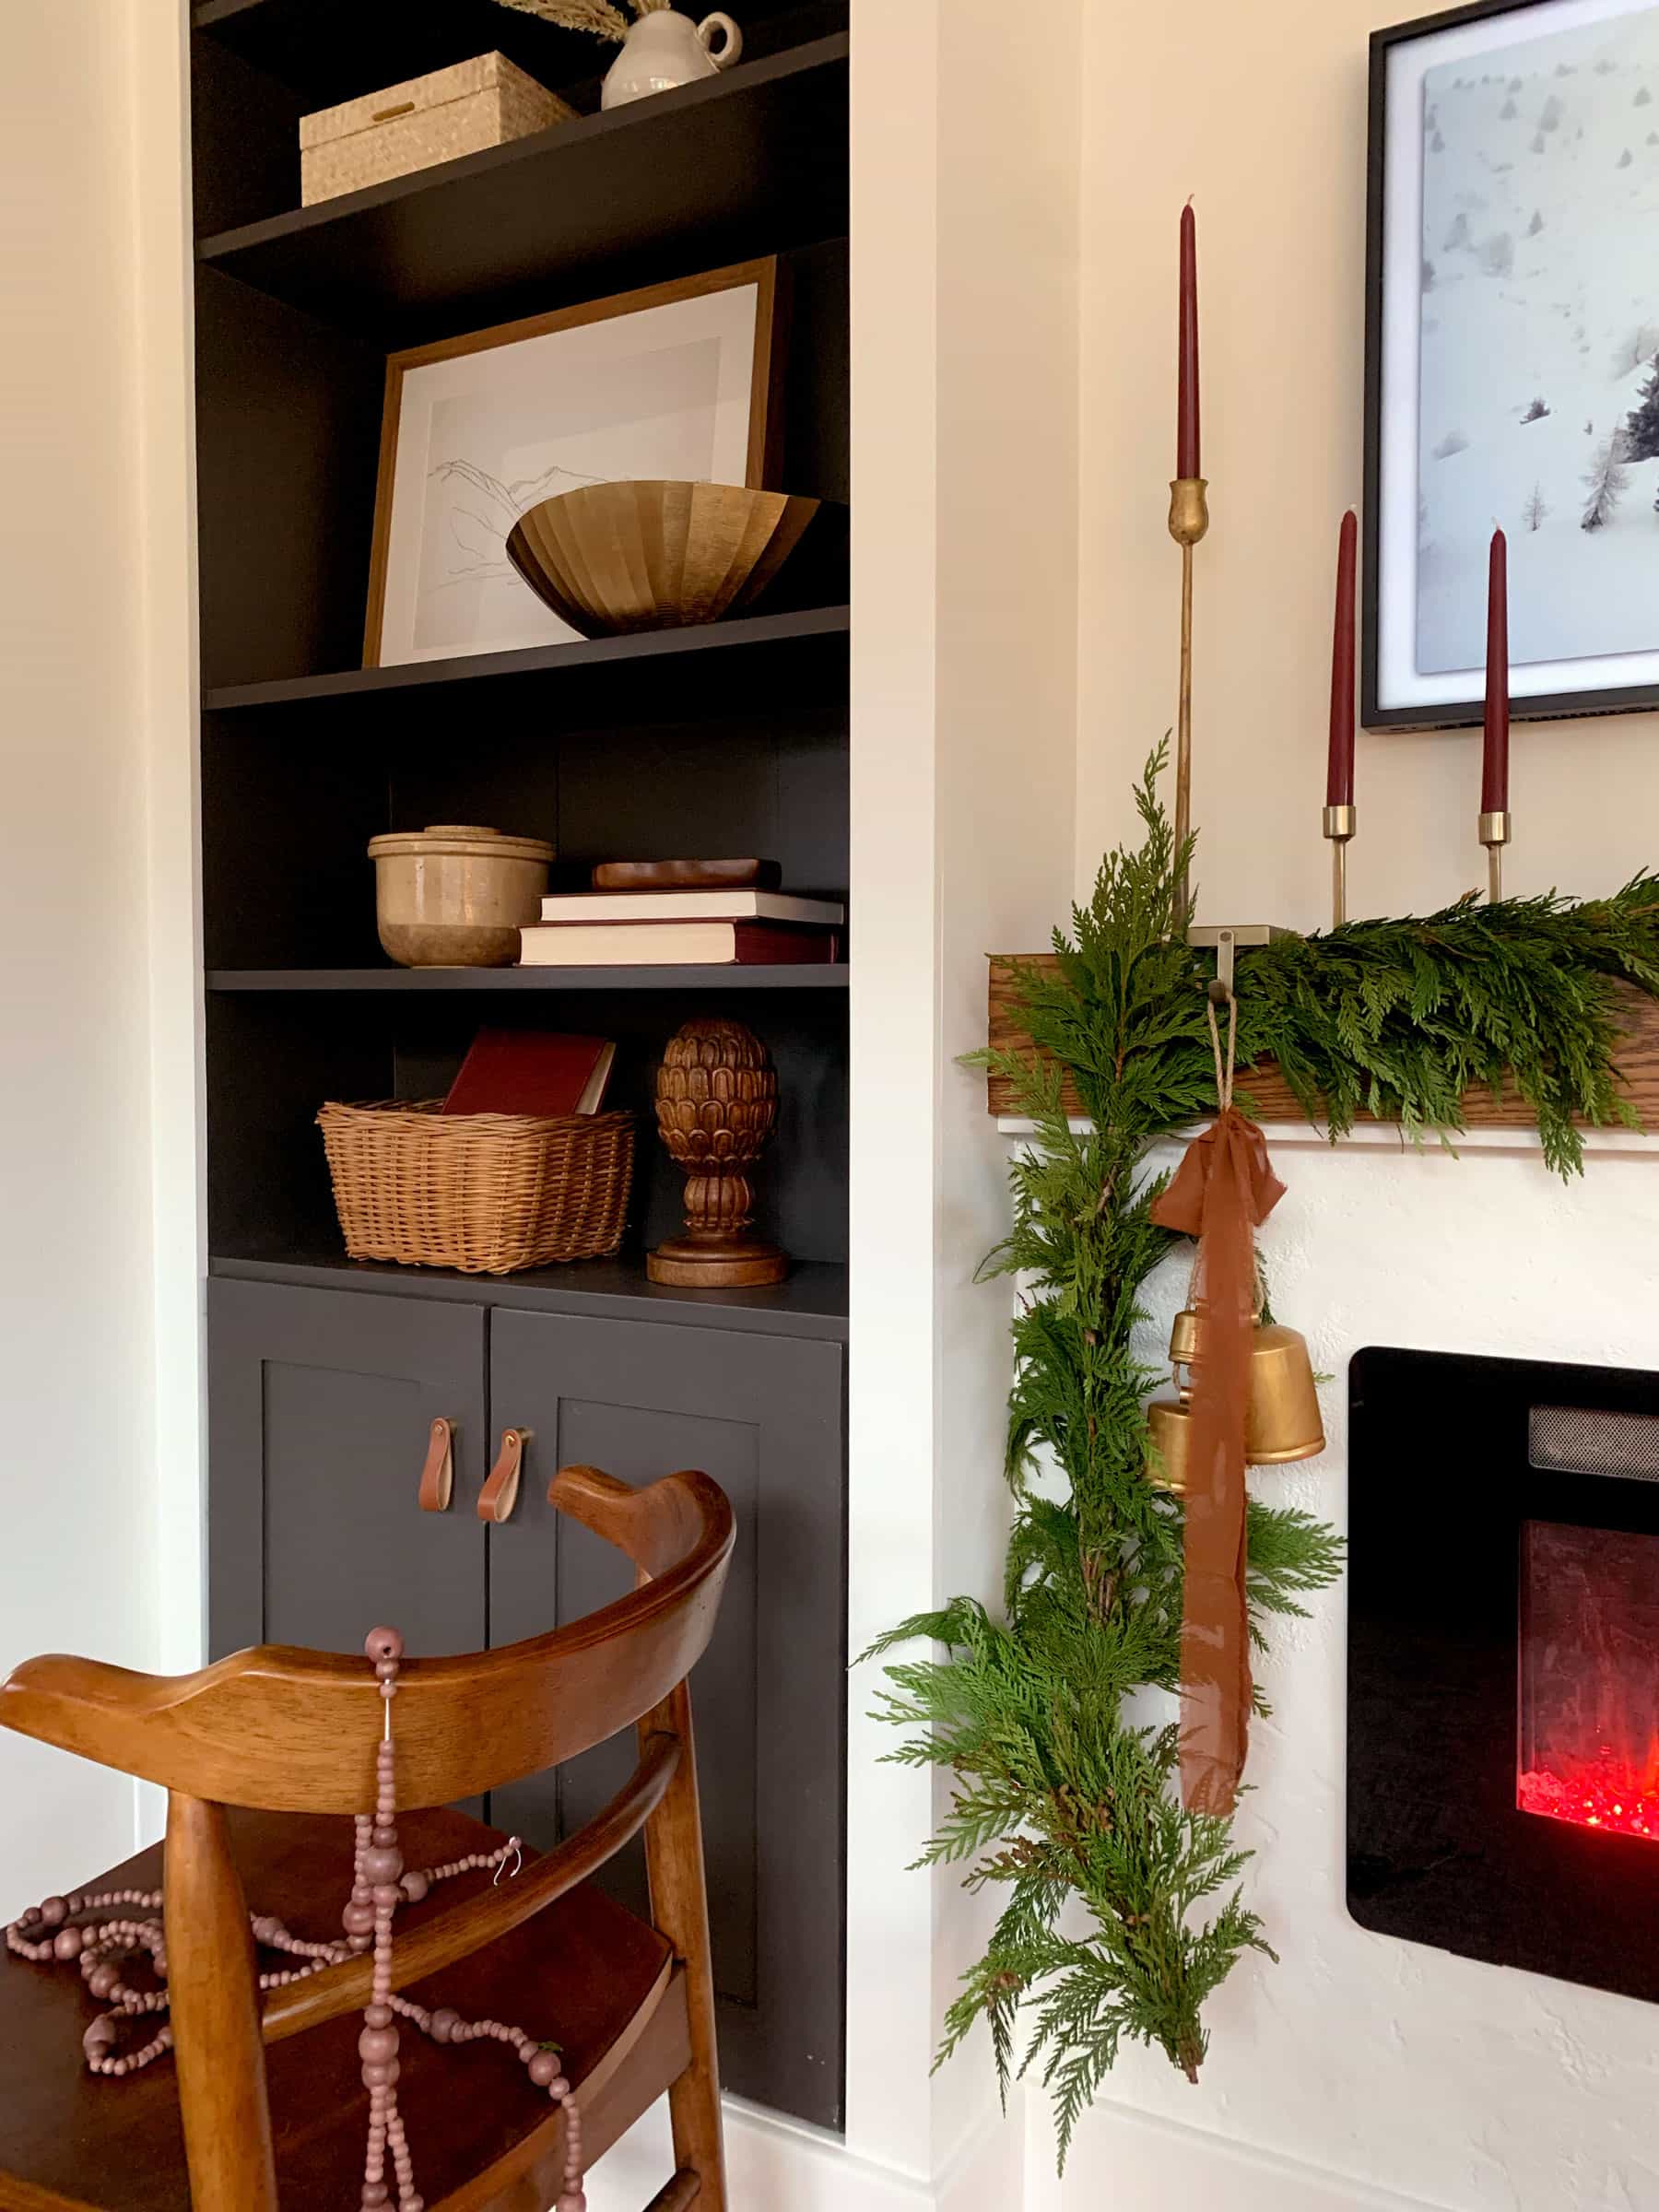
Once the garland was finished, she placed her candlesticks in clusters on either side. It’s important to have varying heights to avoid too much symmetry and to add visual interest to your statement piece. She chose candles in a beautiful, deep shade of burgundy to tie it all together.
The finished look
The earth tones and greenery make the overall finished both natural and neutral. This holiday garland is minimalistic while still being elegant and sophisticated. Its burgundy and gold accents from the candles give this focal piece a gilded, festive touch. Simply light the candles, and you’re left with the perfect balance between luxe and cozy that you can enjoy throughout the holiday season.

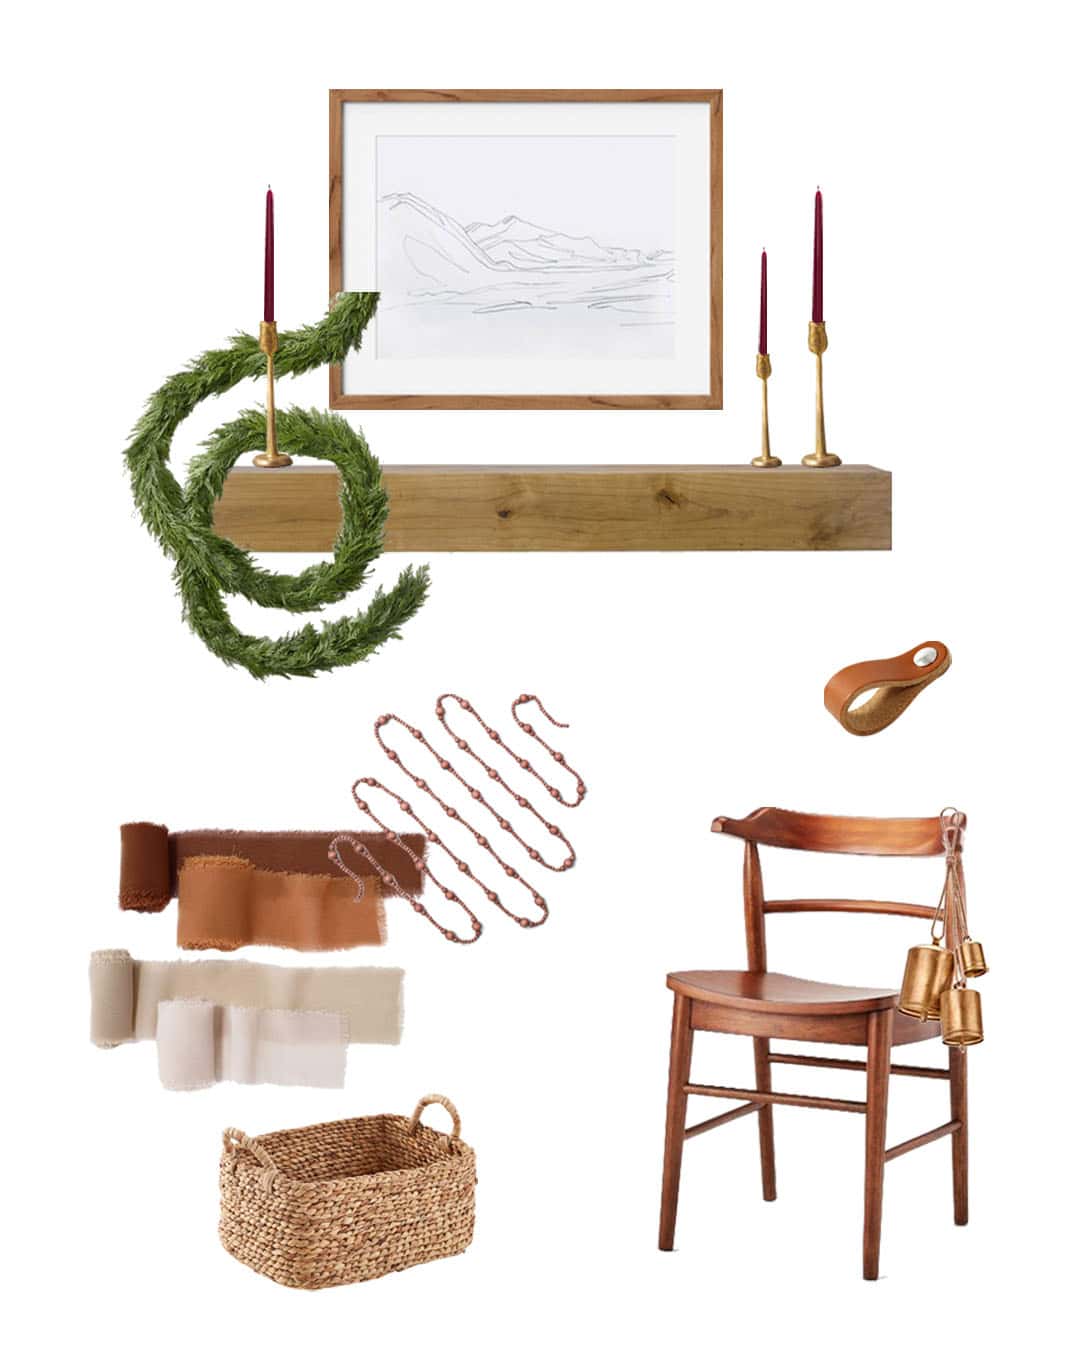
Download Savannah’s DIY Holiday Garland Shopping Guide.
Feel free to share this post:

